Connect is an all-in-one solution for the recruitment and talent management needs of international schools.
With zero placement fees and unlimited vacancy listings, your subscription price will remain the same, whether your recruit 5 staff or 50 through our platform. And with over 200,000 qualified educators on our platform, we can connect you with the best and brightest candidates out there.
In the 9 simple steps listed below, you can create and share vacancies; longlist and shortlist candidates; organise interviews; make offers; decline candidates; and archive vacancies.
Step 1. Visit the Connect dashboard
Your Connect dashboard is prioritised to ensure all the key activities are easily accessible. From here you can choose to:
Create a vacancy
Find a candidate (database access required)
View and edit your school profile
Manage your Talent Pool
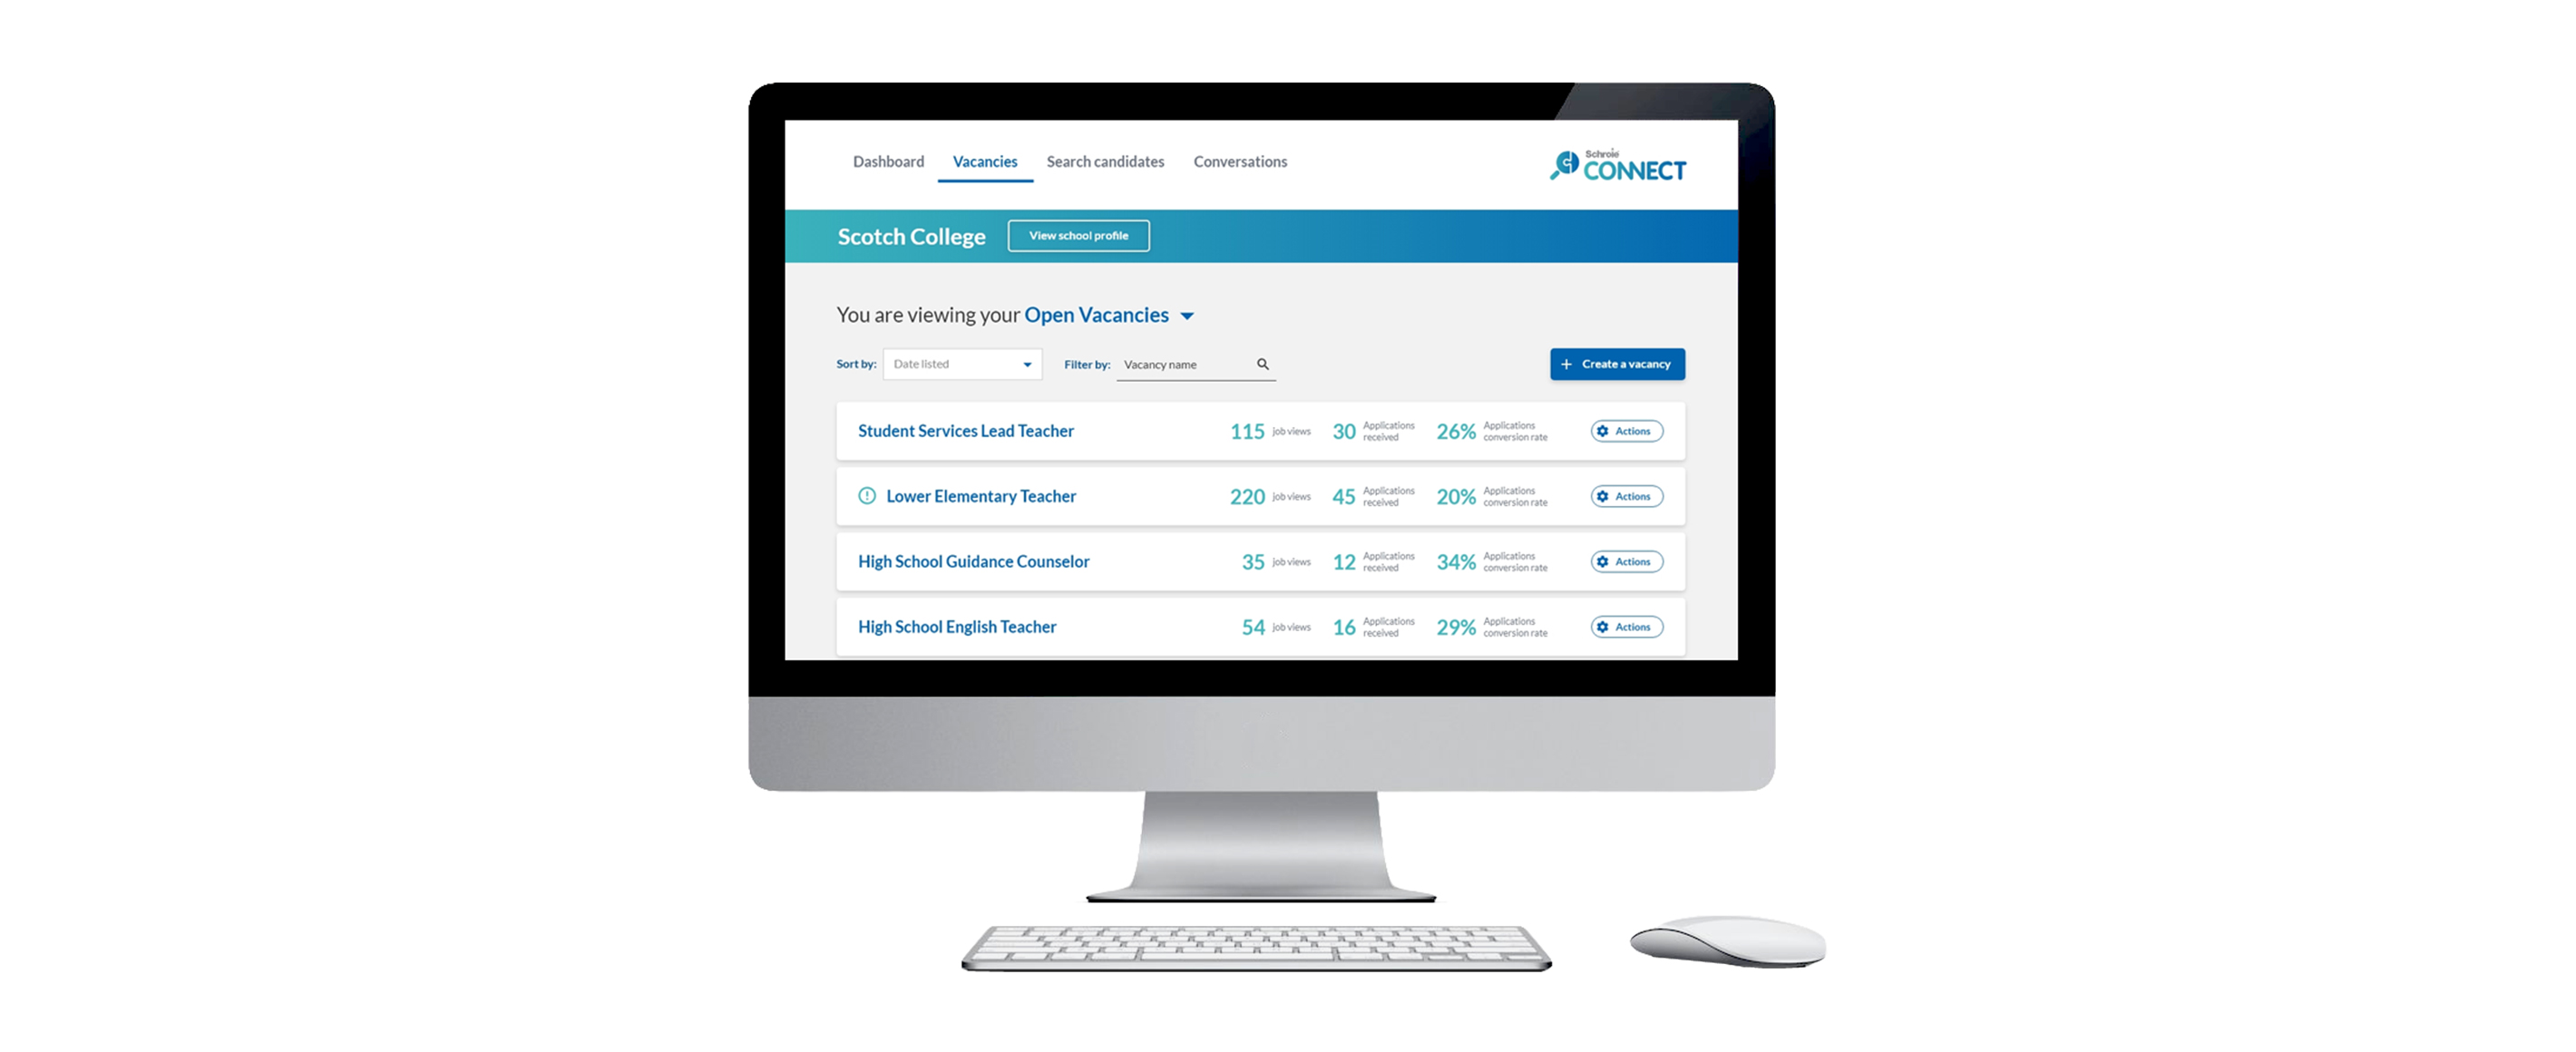
The dashboard page also provides you with access to all your listed vacancies. You can easily find, copy, share, clone or archive vacancies with just one click.
Step 2. Create a vacancy
By clicking the Create a Vacancy button on the dashboard you will be taken to the Vacancy Details page. Here you will be asked to complete the vacancy information including:
Vacancy name and description
Open, close and start dates
Applicant requirements like qualifications and experience requirements; cover letter and documentation requirements; and position breakdown
Vacancy pathway type
Once published, the vacancy will appear on your school profile page and can easily be edited and shared to other platforms from your dashboard.
Step 3. Promote your vacancy
Once a vacancy is created it is automatically added to your school’s profile page on Connect. Your school profile has a publicly accessible URL that means you can link to this page from anywhere. Copy the link from your edit profile page and add it to:
Your school website navigation
Your school website careers page
A careers subdomain on your school’s domain
Every vacancy also has its own unique URL that can also be shared. This allows you to bypass the profile page entirely if you choose and promote individual jobs via other advertising job boards or social media. Candidates applying directly through a shared link will not be required to pay a Schrole membership fee.
Step 4. Longlist your applicants
The longlisting process is designed to help you quickly and easily sort through new applicants and eliminate obviously unsuitable ones. Clicking the green or red buttons on the top right hand side of the applicant blade will get you a long-list of applicants quickly.
Be sure to leave the Applicants section of the process empty, so you don’t have to review the same candidate twice!
Please be sure to decline candidates. The candidates prefer to get a negative response than no response at all! You can of course decide to re-engage with a declined applicant. No applicants are lost from the process, even after the job is archived.
Step 5. Shortlist your applicants
The shortlisting process should be approached a little more carefully. Connect profiles provide in-depth information including:
Personal details
Degrees and registrations
Career history
Positions sought
Housing and visa information
References and reference summaries
If you are recruiting as part of a broader team then you may wish to leave notes on each candidate to explain why you have decided to shortlist them, or some of the questions you still need to ask. Every recruiter can log as many notes as they like.
Step 6. Organise and prepare for interviews
Arranging an interview is quick and easy! Move the candidate to the interview stage of the pipeline and you’ll automatically be asked if you would like to send a meeting invite. Schrole’s interview scheduler uses an ICS file used by the most email and calendar programs, including Microsoft Outlook, Google Calendar, and Apple Calendar to name a few.
Once the interview is arranged, a deep dive into the candidate’s career history and references can be undertaken. Schrole’s unmatched candidate data and unique rubric-based referencing system makes this easy!
Step 7. Make an offer
If you move a candidate to the pre-employment stage of the process, you will be asked if you wish to send them a contract using our integrated e-signature (DocuSign) functionality.
The contract management module of Engage can be turned on separately from the onboarding function of the system. Talk to your Account Manager if you would like to use e-signatures to manage your offers and/or employment contracts.
Step 8. Accepted offers
Once a candidate has accepted your offer, whether though Connect or externally, simply move them to the accepted offers stage. Here you’ll have the opportunity to send a customised email.
The next step is archiving the vacancy, and if you’d like, add candidates to your talent pool.
Step 9. Decline Candidates
The final step of the Connect recruitment process is to decline candidates. You’re able to easily and quickly decline bulk candidates in specific stages, and send a customised, automated email if you wish to do so.
We always recommend sending an email to let candidates know they have been unsuccessful.
The majority of our new international faculty now come to us through Schrole. In fact, our school exclusively uses Schrole as our global recruitment tool, having tried and stopped using other sites. This is how much faith we have in Schrole as a valuable resource with good customer service.
Donald Holder
Foreign Principal
Tsinghua International School, Daoxiang Lake
Your browser is outdated. For the full experience please update.